Saturday, February 28, 2015

Historical Sew Monthly Challenge #2: Something Blue

For February, I wanted to make something super easy because I have a lot of other things I need to make. Here it is! Isn't it cute?

What the item is: Silk Belt (minus buckle or rosette)

The Challenge: #2 Something Blue

Fabric: Lightweight silk dupioni, lined with white muslin and interlined with cotton twill

Pattern: Instructions from the Dressmaker's Guide

Year: 1860's, ish

Notions: Thread, hooks and eyes

How historically accurate is it? Maybe 80%. Dupioni wasn't made in the 1860's and wouldn't have been used because of the flaws in the fabric, and super lightweight silk wasn't preferred for dressmaking purposes.

Hours to complete: Maybe five, altogether. I'm a slow handsewer.

First worn: Not yet

Total cost: $3 (1/4 yard of dupioni from Joanns with a coupon, the rest of it I already had)

Not much to report, other than it was more of an experiment than actually expecting it to come out just right. I really wanted to do something with silk dupioni. When I noticed at the store the lack of slubs, I got a little too excited. You get what you pay for.

There was nothing wrong with the fabric at all other than it was just soooo lightweight. It had no substance or body. Beautiful color, but this was my second time working with dupioni. The first time I used the 'normal weight' dupioni, and it felt both softer even though it had more slubs. The thin stuff this time didn't feel like what it seems like silk should feel like; it felt more like a poly blend. I did not do any kind of burn test to find out.

Another annoying thing that it did was it did not hold a crease and whenever you put a pin it it left two small holes that didn't come out without a lot of rubbing after. You can't see them when it's on but it annoys ME. It also showed me how dull most of my pins are; I felt like I had to stab some of them through, then it would snag. 

The inside looks nice and neat! All done with a handsewn whipstitch.

The most successful part was how stable it feels interlined with the twill. It helps with the wimpy fabric.

Final verdict: It is too small. It fits over my corset, but just. I don't have the final outfit complete, so I didn't know how much larger than my waist measurement to make it. Like I said, it was an experiment. I'll make another one once the dress is done, and probably make it a little wider to match whatever I would like to put in the front (i.e. a slider belt buckle)

Saturday, January 31, 2015

Historical Sew Monthly #1: Foundations

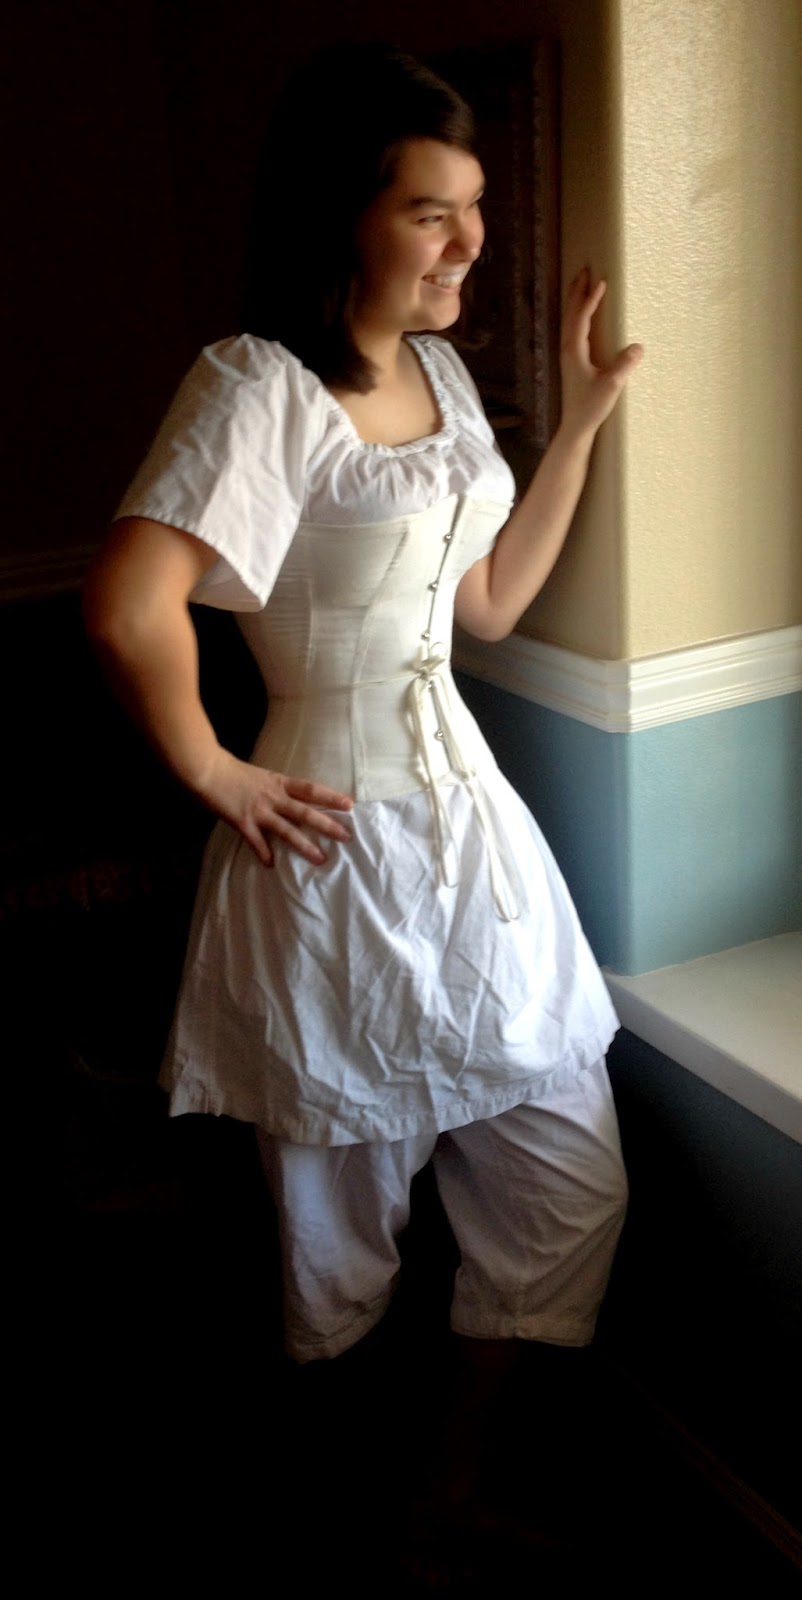
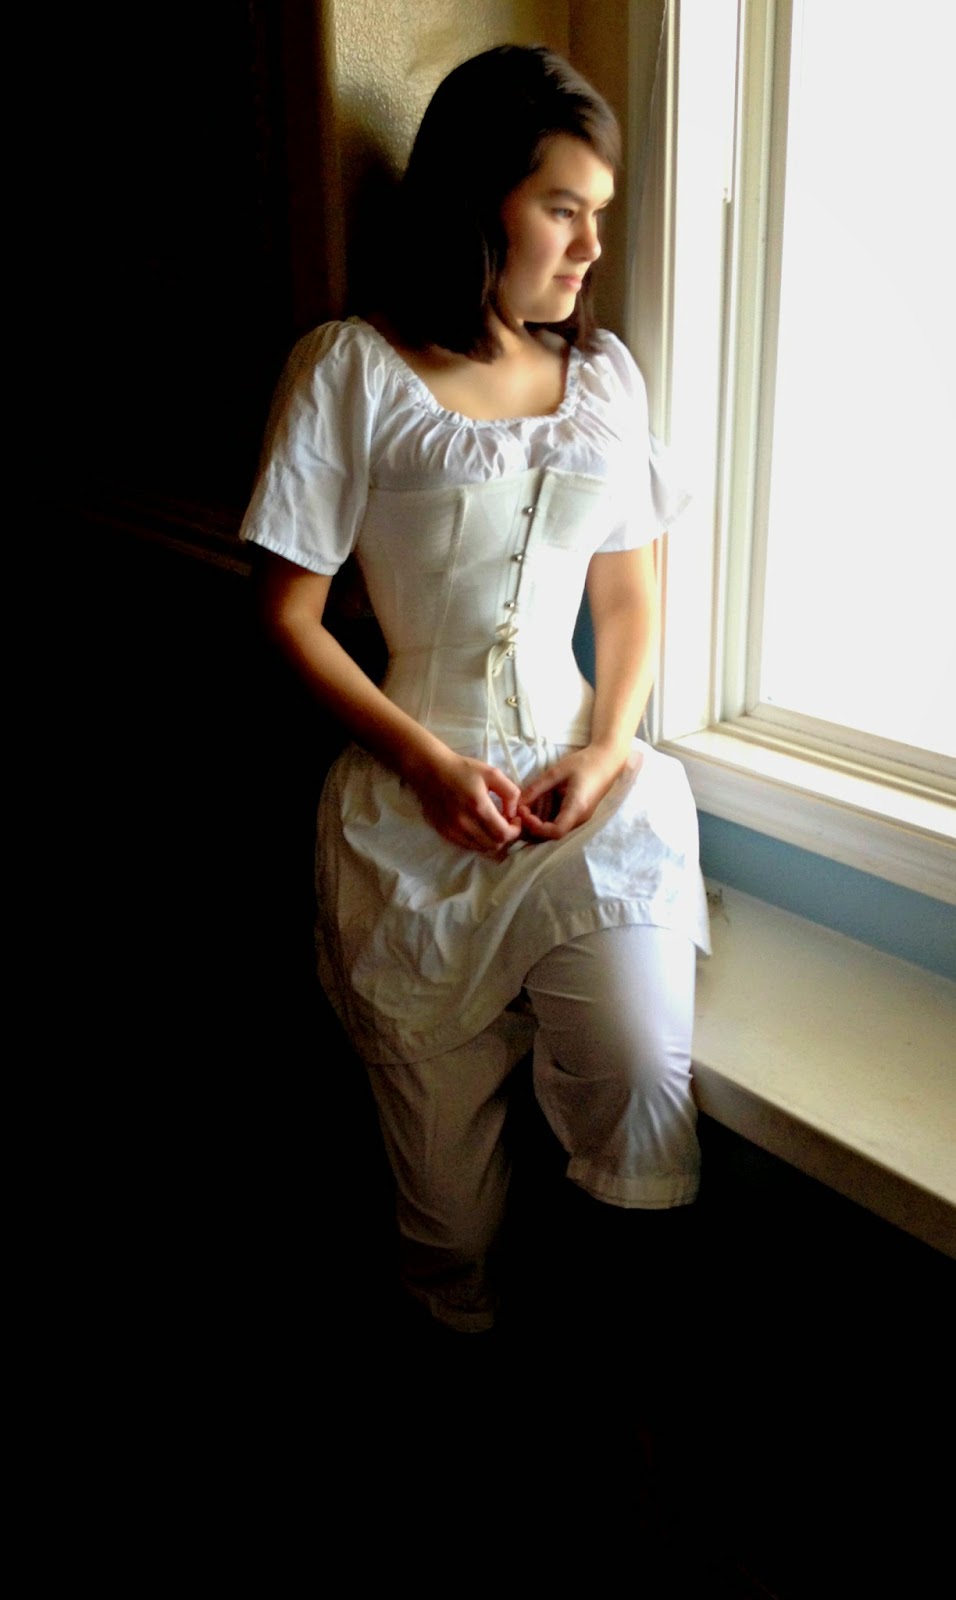
I decided to use this first challenge to make sure I actually finished my corset. I did not start the corset just for the historical sew monthly, but I really wanted to make it my goal to  have it done this month so I would have the rest of the year to make whatever.


It only just occurred to me a couple days ago (I finished it last week).....I'M DONE! This has been the most challenging project I have ever taken on. I made a half-hearted attempt last January *wince* and then didn't try again til July when I recieved the Dressmaker's Guide. The instructions were so much more helpful than the pattern I bought from Joann's. The one-size-fits-none pattern. Ugh.

The Challenge:  #1: Foundations
Fabric: Cotton Twill
Pattern: Draped myself, using The Dressmaker's Guide for instructions
Year: Mid-Victorian; I was shooting for 1860's
Notions: Metal grommets, spring steel boning, busk, thread
How historically accurate is it? How about.....80%? I have no idea. No glaringly bad mistakes, some of my finish work probably isn't accurate. It gives me the right shape, though. The way I have the bones in the front definitely isn't; I will fix that.
Hours to complete: A million? Seriously, I have no idea. I started it six months ago, so a ton of hours.
First worn: To a reenactment back in September, when it was only half finished. Thankfully I have fixed the problems and was glad I had the experience to wear it for five hours to get an idea of what needed to be done.
Total cost: $75; that was why I was so hard on myself to get it right.
Anyway, I started with a t-shirt and duck-taped it, sort of like if you would make a dressform. Instead of taping your whole body, though, you only do from the bust to the waist. Then you cut it off and slice it in the places you want the corset seams to go. That was a great place to start, and I will definitely use that method again.

But after that everything went downhill. To sum up this experience in a nutshell....everything went wrong that could. From ordering the wrong size boning, to re-setting the busk three times, to cutting out new pieces, to messing with the fit so much I could cry (okay, maybe I did cry), to discovering that the fabric was stretching, to just about finishing and it doesn't sit straight on my back, it has NOT been, in reality show words, a surreal incredible journey. More like a walk through sewing hell. In the picture below, those small horizontal wrinkles are from the stretching.

So that is why it has taken me six months to complete. Procrastination got the better of me, and also fear of messing up to the point of completely starting over. Thankfully, it turned out better than I could have hoped for.

Sure, the bones in the front are about 1/2'' short, but it doesn't matter that much. The only thing I'm a little disappointed about is the placement of the boning in the front. I was following the seams I had, and it looked straight when laying flat. In the picture above, you can see what I mean. Of course, I'M not flat, so that doesn't work. Other than that, I am super excited to get on with my sewing life without that hanging over me.


Thursday, January 29, 2015

What is a Wrapper?

Sometimes, during various research or browsing other lady's sewing blogs, I come across terms that sound weird that I have never heard of before in my life. Things like, 'wrapper', 'sontag', and 'fichu'. Huh?

In any way of speaking, there is always progression in language. New words are invented, and old ones considered irrelevant are promptly forgotten. That is the way of life.

When doing research and coming across new words, it's been really interesting to learn about various terms and what they mean.

A 'wrapper' is a handy dandy little robe. Styles vary from looking more like a dress, to an elaborate loose-fitting garment thing, to a maternity robe.


What defines a wrapper from any other dress is that they were loose-fitting or had a drawstring waist. That is how the dress look is accomplished; the drawstring waist makes it look gathered-to-fit. Some of them button from the neck all the way to the floor.
From what I can tell, wrappers could be functional as a work-type dress, depending on the style. I've seen wrappers in cotton, wool, and silk. Obviously, you might want to save your silk garments for indoors.

Wrappers were supposed to be comfortable; like a robe nowadays, no one was really supposed to see you in them, giving you liberty to wear whatever you want underneath. Some were large enough to wear a hoop skirt underneath, although that was matter of personal preference. Sort in the way that bras become tiresome to wear after a while, having something that didn't require a corset would be nice. The one below shows what they look like without any kind of drawstring or waistband.

You know, maybe I should make one. Just cause. It wouldn't be too different from a cotton work dress, but it would be something new. Not that I plan on being pregnant any time soon.

Monday, January 19, 2015

Upcoming Plans for Historical Sew Monthly, and Other Various Things.

I have several ideas as to what I might be sewing this year. The historical sew monthly is proving challenging; I have no idea what in the world I will be doing for several of them. Here is the list, and some of my ideas:

  • January – Foundations: make something that is the foundation of a period outfit.
Let's see, for January I already finished my corset. Yay! Will make a post as soon as I get pictures....

  • February – Colour Challenge Blue: Make an item that features blue, in any shade from azure to zaffre.
I'm thinking a bonnet of some kind. I have a pattern for a beautiful drawn silk bonnet that uses silk dupioni. The slubs disappear in the many folds of the fabric. Or one of those ugly slat bonnets. Ugh. 
Swiss belts are super cute. I really love the idea of this one in blue, but I don't think I should spend the money on something I have no use for at the moment:


  • March – Stashbusting: Make something using only fabric, patterns, trims & notions that you already have in stash.
Again, either a bonnet, or something easy like a chemise. I also have a length of dotted swiss which I might use for a white bodice. A burn test is in order....

Oh yeah, I also have all the supplies to make a corset cover/detached lining for a sheer something or another.

  • April – War & Peace: the extremes of conflict and long periods of peacetime both influence what people wear.  Make something that shows the effects of war, or of extended peace.
This is a challenge in which I have a couple ideas, but not very good ones. I may end up skipping this one; there are several other things I need to have finished before the May reenactment.

  • May – Practicality:  Fancy party frocks are all very well, but everyone, even princesses, sometimes needs a practical garment that you can DO things in.  Create the jeans-and-T-Shirt-get-the-house-clean-and-garden-sorted outfit of your chosen period.
I love the idea of making either a corded corset, or a corded petticoat! I don't have a particular use for them, but saving them for later costuming sounds good to me.

  • June – Out of Your Comfort Zone: Create a garment from a time period you haven’t done before, or that uses a new skill or technique that you’ve never tried before. 
I really would love to make something either Regency, 1840's, or Edwardian. Or maybe I could use this challenge for the corded things, if I haven't done that by then. 
The idea of using a new technique isn't exactly novel for me, it's just recognizing it isn't something I've done before will be interesting. If I have instructions it never occurs to me that I haven't done it that way before. 

  • July – Accessorize: The final touch of the right accessory creates the perfect period look.  Bring an outfit together by creating an accessory to go with your historical wardrobe.
Oh, options abound! Bonnets, belts, collars, cuffs, you name it! At the moment I have no clue exactly what it will be.

  • August – Heirlooms & Heritage: Re-create a garment one of your ancestors wore or would have worn, or use an heirloom sewing supply to create a new heirloom to pass down to the next generations.
Ummmm????  Stumped. 

  • September – Colour Challenge Brown: it’s not the most exciting colour by modern standards, but brown has been one of the most common, and popular, colours throughout history. Make something brown.
Nothing comes to mind at the moment, but I like brown well enough to come up with something.

  • October – Sewing Secrets: Hide something in your sewing, whether it is an almost invisible mend, a secret pocket, a false fastening or front, or a concealed message (such as a political or moral allegiance).
All of the dresses I have are in need of pockets. That would be really handy for various cell phones and whatnot. I also do invisible hemming all the time. 

  • November – Silver Screen: Be inspired by period fashions as shown onscreen (film or TV), and recreate your favourite historical costume as a historically accurate period piece.
Ooohhh, boy! This might be my favorite challenge to dream about. The Downton Abbey costumes never cease to stun. Deciding which one would be the hard part!


Another idea I had was to do something Gone With the Wind-inspired (heaven forbid an exact replica!)

  • December – Re-Do:  It’s the last challenge of the year, so let’s keep things simple by re-doing any of the previous 11 challenges.
I'll use this one to finish any challenge I never decided to take on, as nothing else will be due by then.


And one last random plan:

I have been dreaming of a nice dress for forever. I really need one this year; just something cooler than my heavy cotton dress. I think I have decided to go with a barred sheer, but I would like it done by May and it doesn't fit in with any of the challenges. Here are several reference photos of ones I like:

(The one on the right, with long sleeves)


Thursday, December 11, 2014

Emmett Reenactment, 2014

I have so long looked forward to this particular event! It was very enjoyable, and the weather was perfect. Here are a couple pictures of the reenactment...

Camille, learning how to make a super cute rag doll....

Someone never fails to get several photos of me playing graces at every single event...


My Grace's partner, Ruby


Camille, quilting.


One of my favorite parts of the event was watching Camille and Ruby play with the hoops and sticks (what is that called, anyway?). They looked just like they stepped out of a BBC drama! There are better pictures of them playing somewhere, I'll post those in a while.


I figured out how to use a treadle sewing machine, which was cool. It also was very eye-opening to the frustrations of not hand sewing. Using a treadle may sound like fun, but it actually is hard and I think if I actually had to use one, my toes would be broken and bruised from kicking the machine and using very unladylike language.....
The hardest part of the sewing machine is getting it to go forward. When you start pedaling (oh, you know what I mean - what is that word anyway?) on the treadle, the needle goes backwards. To switch it to forward, you use the wheel on the side to flip the gears. But turning the wheel as fast as you can while pedaling is REALLY frustrating. The worst part is you don't want to stop in the middle of a seam, because then you have to re-start on the whole turning-the-wheel process. 

Historical Sew Fortnightly (or, er, Monthly)


Over at the Dreamstress website (who does amazing work and in-depth specific research), Ms. Oakes has been hosting what she calls a 'historical sew fortnightly'. It is a historical sewing challenge in which, every other week, a new theme is declared and you have two weeks to finish it.

This year, there has been some debate as to whether or not the Historical Sew Fortnightly will continue, it being a vast amount of work to the dear soul who hosts it.

HOWEVER, it has been announced that the Historical Sew Fortnightly will continue, but the title will be changed to 'Historical Sew Monthly', as the challenges will be once a month, giving one more time to complete each challenge.

Obviously, I could have directed you to her website instead of telling you all this myself, but as you can see, I am just a little excited about it. This will be my first year participating, and I'm hoping to branch out and make more interesting clothing items since I am nearly out of the 'completing my first undergarments' realm. Just that has taken forever, since I can't seem to buck up and just buy all the muslin I needed at once.                                                                                                                                                  

Thursday, October 2, 2014

Corset Frustrations....

So, while my corset is ACTUALLY done, I thought I would write about what I'm doing at the moment, trying to have it totally finished by Saturday.

I know, it looks awesome, but I'm still fiddling with the fit. It isn't snug enough in some places, so I keep shifting around more than I'd like. I had to take out the busk and cut out new pieces for the front (the pictures are not the updated version).

Lacing myself in was probably one of the most satisfying end to any sewing project ever. Even if I had to take it all apart in the front afterwards.

And no, it isn't a torture device like my dad still thinks. It feels a little weird when you cinch it tight, but not uncomfortable. Thankfully my dress still fits for the most part, but it is a little on the loose side. I guess that is the only plus to having gauging, is to be able to just pull the gauging up a little onto a tighter waistband.

The adjustments I made/still have to do is lengthen the bodice in the front, take in the seams right under my bust, take in the waist more (when cutting out the new front pieces, it somehow lost its waist-sucking power), re-attach the busk, re-sew the casings for the boning, and bind it all up and hope the fit is just right because I think I would tear out my hair if I had to rip those casings again. Sure, I can do all that in two days!